
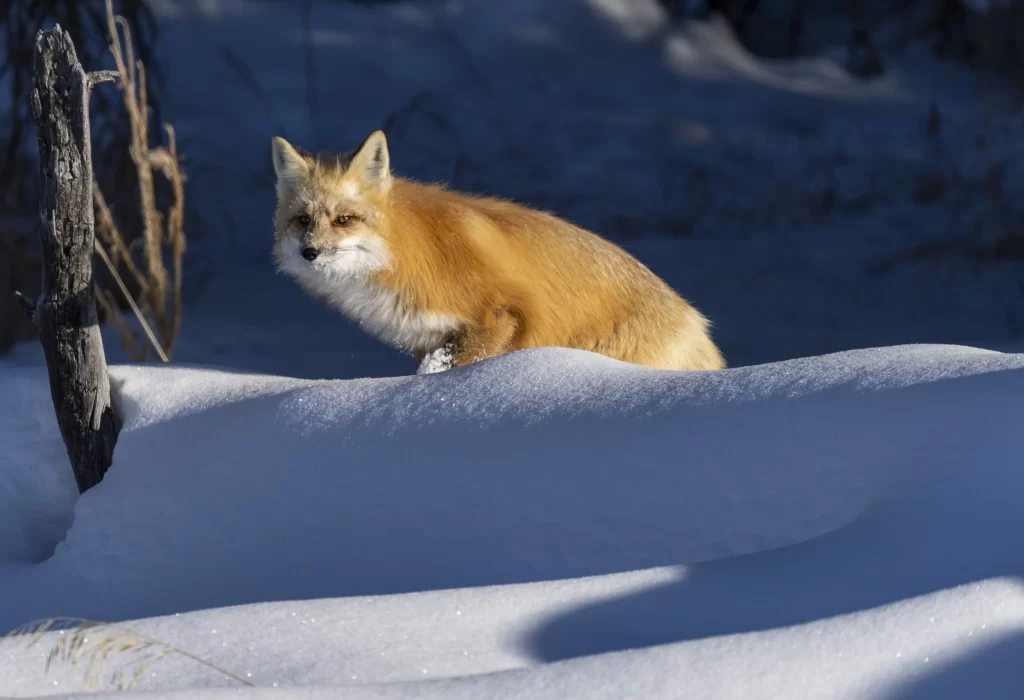
 A fox steps out of the shadows, a heron lifts off without warning, or a warbler finally lands in the one clean patch of light. Those are not the moments to scroll through menus. The best camera settings wildlife photography calls for are the ones you can set quickly, understand clearly, and adjust when the scene changes.
There is no magic setting that works for every subject. A perched owl in soft evening light asks something very different of your camera than a swallow twisting through a bright Texas sky. Still, a reliable starting point makes things easier. Once the camera is doing the basic work well, you can pay attention to the animal, the light, and that split-second behavior you came out to photograph.
Start With Manual Exposure and Auto ISO
For most wildlife situations, we recommend manual exposure mode with Auto ISO. It sounds backward at first. Why choose manual if the camera is still changing something? This is because you choose the two settings that most directly affect the look of the image: shutter speed and aperture. The camera then adjusts ISO as the light shifts.
This is especially helpful when a bird moves from a dark treeline to an open field or when you are photographing a white egret against changing backgrounds. Your shutter speed stays fast enough to freeze the action, and your aperture stays where you want it for depth of field. Auto ISO handles the changing brightness.
Set your maximum ISO high enough that the camera has room to work. Modern cameras are remarkably capable, and a slightly noisy image is usually far more useful than a blurry one. We would happily take a sharp image at ISO 6400 over a silky-smooth file where the animal’s eye is soft.
If you are just getting comfortable with exposure, aperture priority can be a perfectly reasonable bridge. Set a wide aperture, turn on Auto ISO, and check that your shutter speed is high enough. It works well for slower subjects, but manual exposure with Auto ISO gives you more consistency as your skills grow.
Best Camera Settings for Wildlife Photography: Shutter Speed First
 Wildlife does not care that you packed a tripod, drove three hours, or finally found the perfect background. It will move when it does. Shutter speed is usually the setting that determines whether the image holds up when you zoom in.
For an animal resting or moving very slowly, begin around 1/500 of a second. That can work for a deer standing still, a perched bird, or a turtle enjoying a quiet morning. If there is even a little movement—a head turn, a footstep, a breeze moving feathers—1/1000 second is a safer choice.
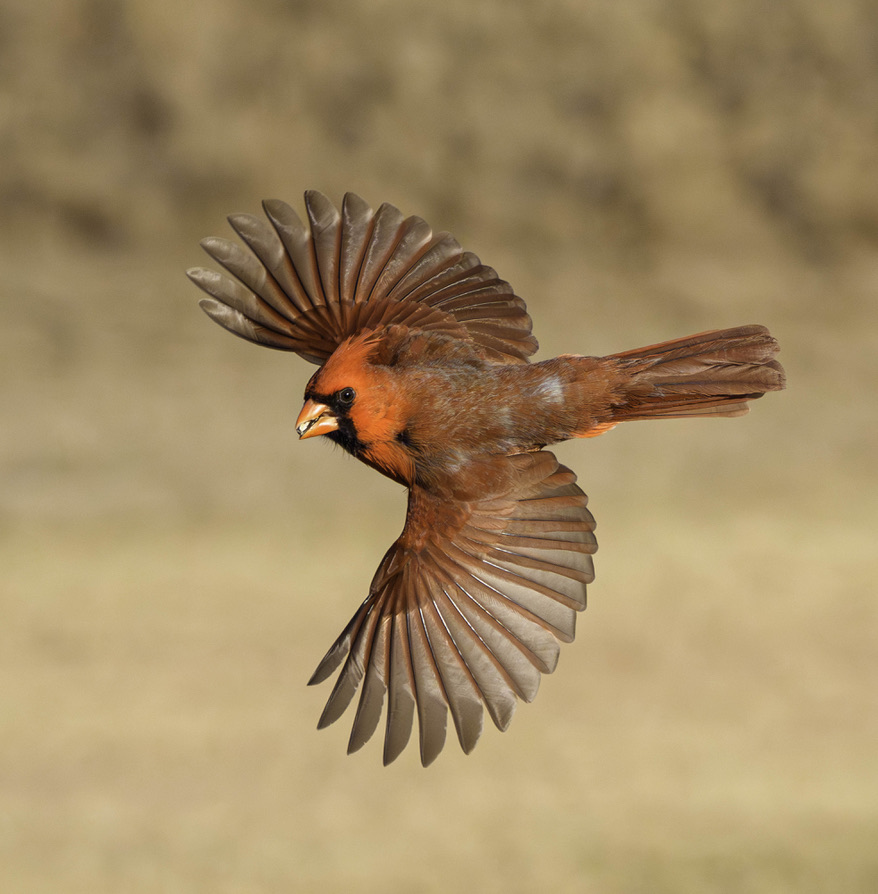
For birds in flight, start at 1/2000 second. Larger birds flying steadily may look great at 1/1600, while small, fast birds often need 1/2500 to 1/4000 second. The photo to the left was taken at a shutter speed of 1/8000. A kingfisher, tern, or hummingbird can make 1/2000 look slow in a hurry. With fast action, raise the shutter speed first and accept the higher ISO that follows.
There is one lovely exception: intentional motion. A slower shutter can blur wings or show a running animal’s movement. That is a creative decision, not a default. Get the sharp image first if you can, then experiment when the situation allows.
Choose an Aperture for the Animal, Not the Background
A wide aperture creates a soft background and helps separate your subject from visual clutter. That is why f/4, f/5.6, f/6.3, and f/8 are common wildlife choices due to the limitations of the longer lenses. They also help in low light by allowing more light to reach the sensor.
But wide open is not always best. If a bird turns toward you, f/5.6 may give enough depth of field for both eyes. If it is angled sharply, f/7.1 or f/8 can give you a better chance of keeping the face and eye sharp. For a larger animal standing broadside, f/5.6 often works beautifully. For two animals on slightly different planes, or a bird with a long bill pointed toward the camera, stopping down can be worth the ISO trade-off.
Background distance matters as much as aperture. A bird close to you with distant foliage behind it can have a buttery background at f/6.3. A bird pressed against busy branches may still look cluttered at f/4. Move your feet when you can. A small change in shooting angle can do more than another click on the aperture dial.
Use Continuous Autofocus and a Flexible Focus Area
Set your camera to continuous autofocus—often called AF-C or AI Servo. This tells the camera to keep updating the focus as the subject moves. For wildlife, single-shot autofocus is usually too slow and too easy to fool.
Subject detection can be fantastic, especially bird or animal eye detection, but it is not magic. Branches, tall grass, low contrast, and a tiny subject can all confuse it. Learn how to quickly switch between eye detection, a small flexible zone, and a single point or expanded point. The best option depends on the scene in front of you.
For an unobstructed bird in flight, a larger zone with bird detection gives the camera room to acquire the subject. For a bird tucked into brush, a smaller focus area gives you more control over where the camera looks. If the system keeps grabbing the nearest twig, don’t keep hoping it will sort itself out. Reduce the focus area, place it on the bird’s head or chest, and try again.
Whenever possible, focus on the eye. Viewers connect with an animal through its eyes, and an image with sharp feathers but a soft eye rarely feels finished.
Set Your Drive Mode for More Than One Chance
Use continuous high-speed shooting when the action is unfolding. A short burst can capture the better wing position, a catchlight in the eye, or the instant a fox looks directly at you. The key word is short. Holding the shutter down for six seconds because a bird twitched is a fine way to create a long editing session later.
Shoot a deliberate burst, check your composition when the action pauses, then be ready again. This rhythm keeps your card, buffer, and patience in better shape.
Don’t Let Metering Fool You
Evaluative, matrix, or multi-pattern metering is a strong default for wildlife photography. It reads much of the scene and generally gives your camera a sensible starting point. The trouble comes with bright white birds, dark animals, snow, reflective water, or a subject against a bright sky.
Check your histogram and blinking highlight warning, not just the brightness of the image on your LCD. A white pelican can look fine on the back of the camera while its brightest feathers are completely clipped. In manual exposure with Auto ISO, you will need to use exposure compensation, so find it on your camera for quick access. Know how your camera handles it before the rare bird appears.
When you have time, take a test frame and adjust. Protect important highlights in white feathers, but do not underexpose everything so heavily that shadows become muddy. There is always a trade-off, and the right choice depends on the light and the subject.
Build a Starting Preset Before You Leave the Car
A useful wildlife starting point might be 1/1600 second, f/5.6 to f/6.3, Auto ISO, continuous autofocus, animal or bird detection, and continuous high-speed drive. That setup is not a promise. It is a ready position.
If the morning is dim and a great horned owl is sitting quietly, lower your shutter speed and work carefully. When a flock of black-bellied whistling ducks suddenly launches from the pond, raise the camera higher before you push the shutter. The best wildlife photographers are not the ones with one perfect setting. They are the ones who recognize what is changing and make one smart adjustment at a time.
At Jeff & Angie Photography workshops, we see confidence grow fastest when photographers stop chasing someone else’s exact numbers and start reading the scene for themselves. Light, distance, behavior, lens choice, and even how steady you are all matter.
Before your next outing, set up your camera in the living room and practice changing shutter speed, focus area, and drive mode without looking. Then, when that unexpected moment happens outdoors, your hands will know what to do, and you can simply enjoy watching the wild thing in front of you.