
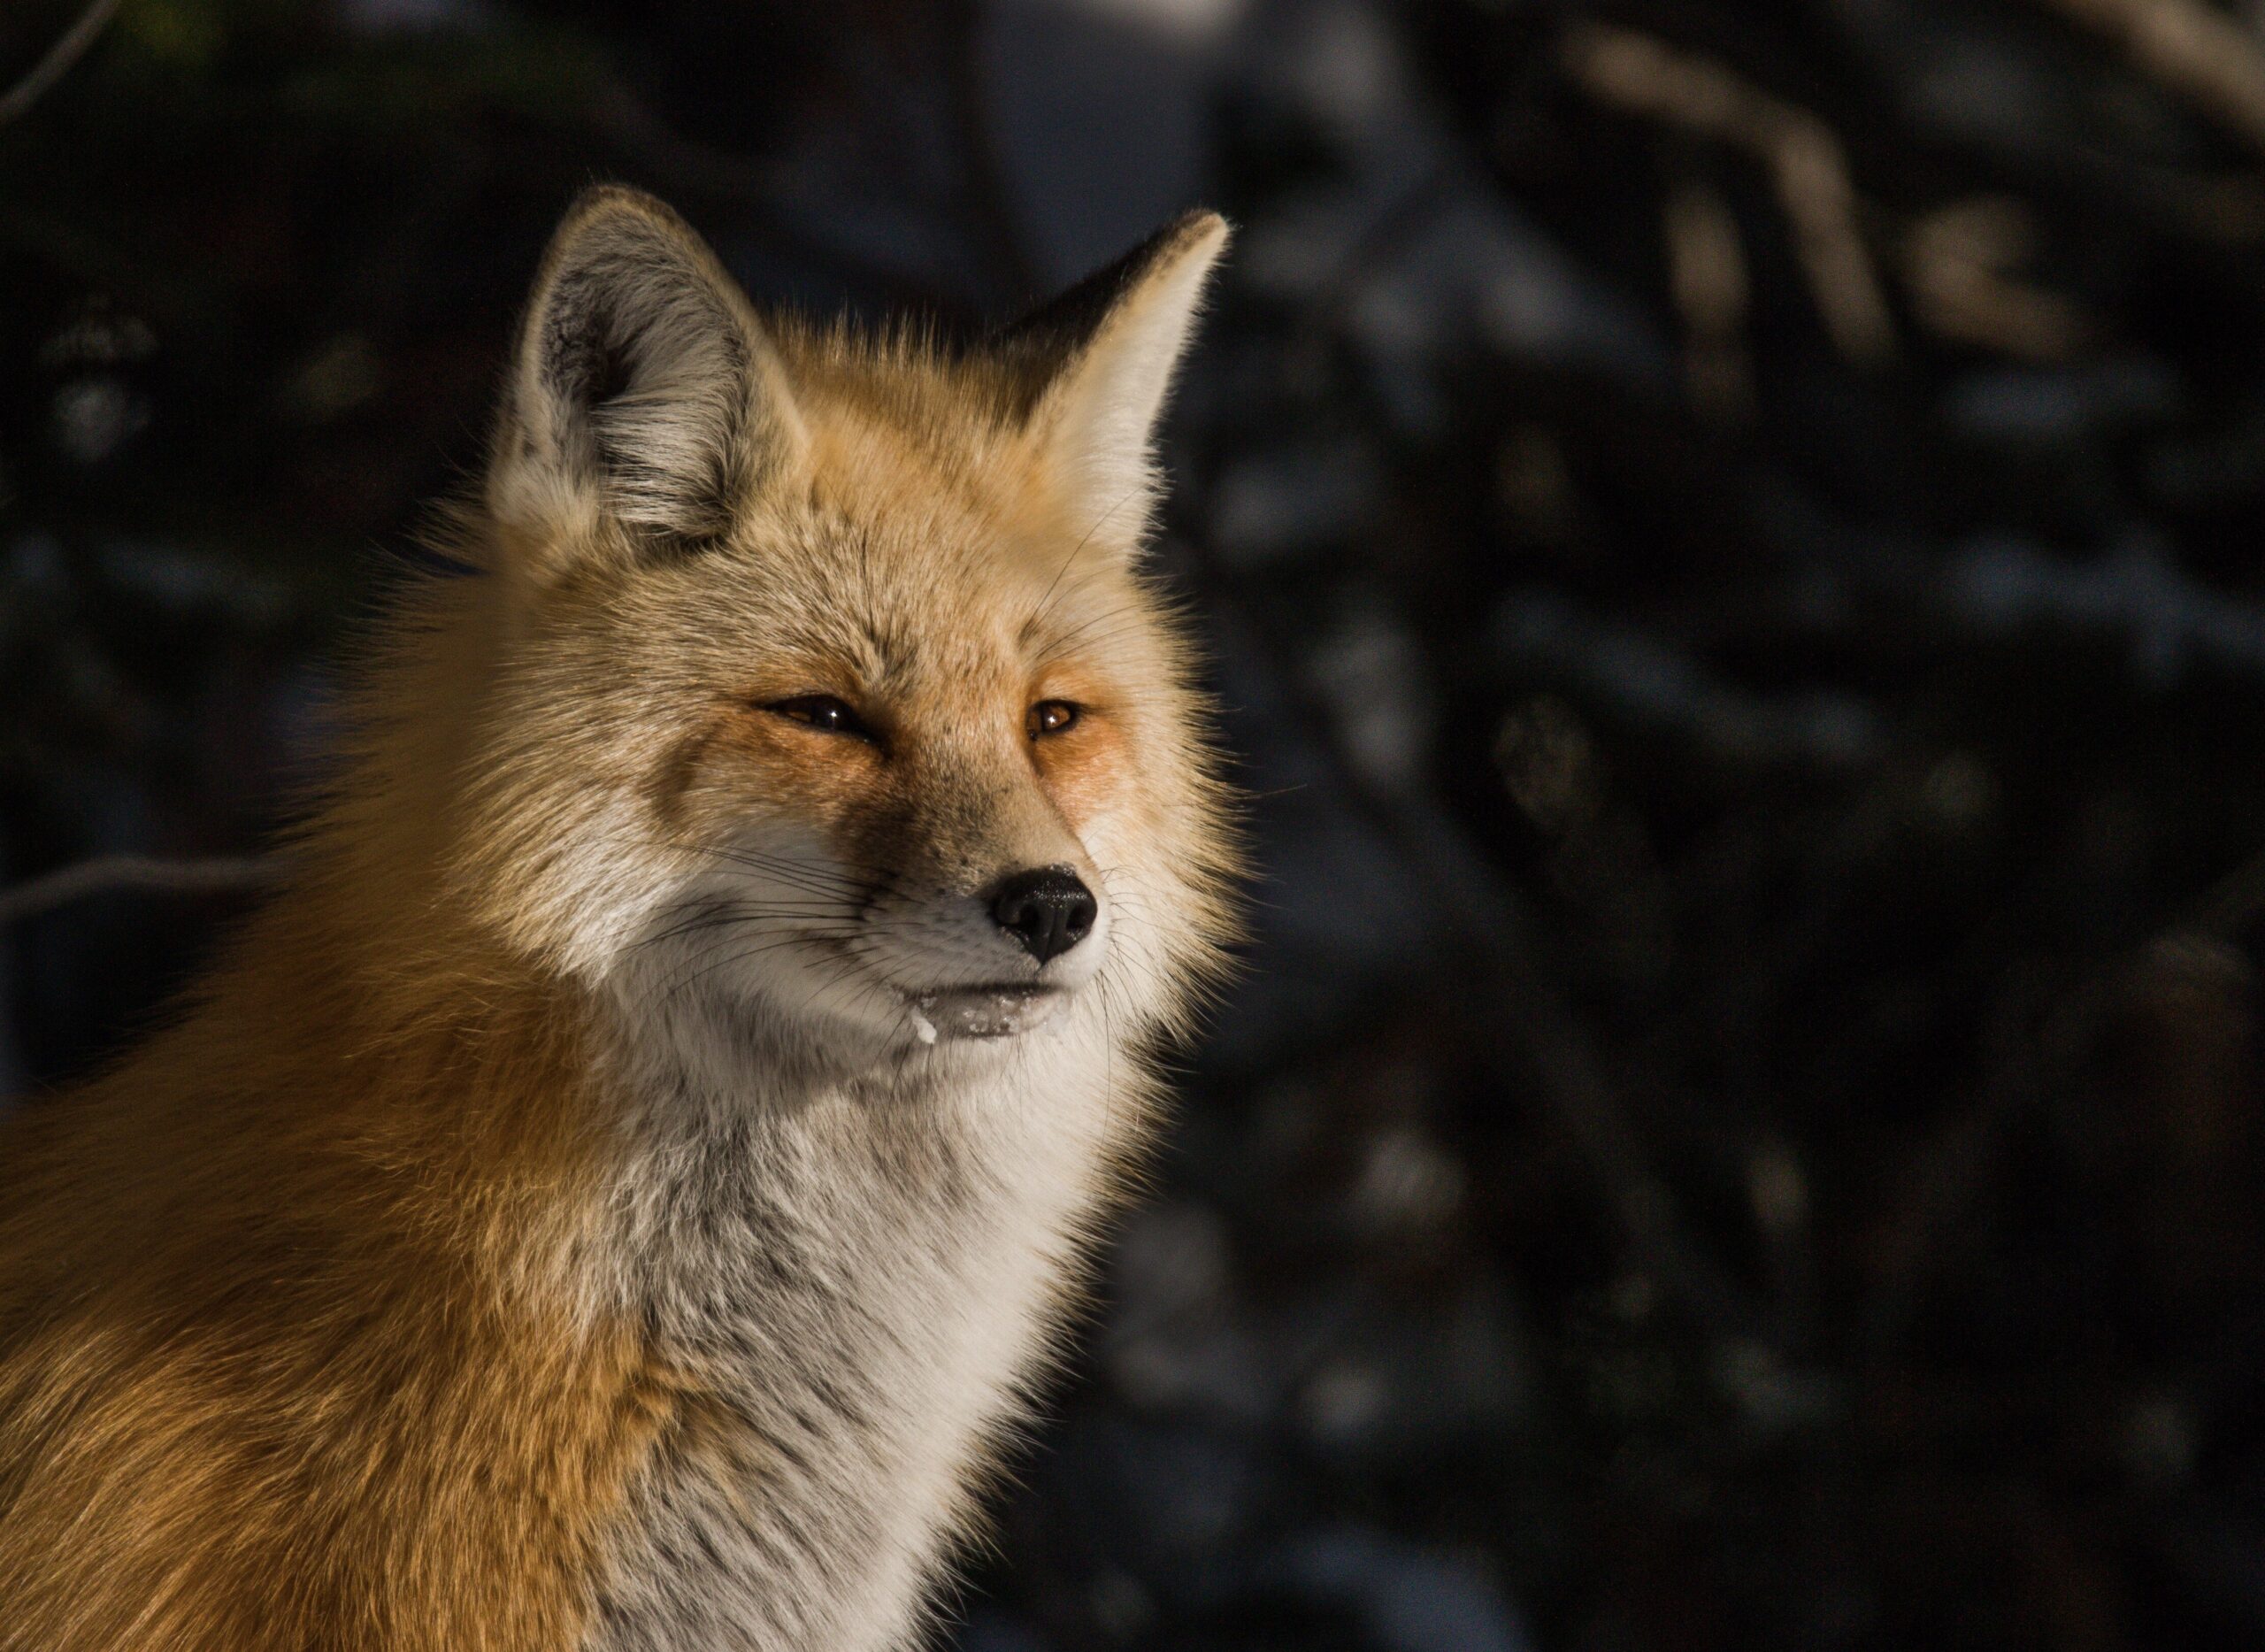
 That fox finally stepped into clean morning light. The heron gave you a perfect head- turn. The image looks good on the back of your camera, but once it is on a larger screen, the background feels busy, the bird is a little dark, and the colors are not quite what you remember. Learning how to edit wildlife photos is where a solid field capture becomes a photograph that feels finished, without turning a real animal into something that looks overly processed.
The goal is not to make wildlife look overly dramatic. It is to guide the viewer’s eye to the animal, preserve the mood you experienced, and make careful corrections that still feel believable. A great edit should support the story. If people notice the editing before they notice the animal, it is probably time to ease up a bit.
Start With the Best Frame, Not the Biggest Rescue
Editing gets much easier when you begin with a strong file. Before touching sliders, look through your sequence and choose the frame with the best combination of light, pose, eye contact, and background. Sharpness matters, of course, but a slightly softer image with a wonderful behavior or connection can be more compelling than a technically perfect frame with a turned-away head.
Be honest about what the file can handle. A severely underexposed photograph may become noisy when brightened. Cloning half the forest away may not save a bird hidden behind branches. We have all had that one image we desperately wanted to rescue. Occasionally a light touch produces a keeper. Occasionally the better lesson is to remember the moment, learn from it, and move on to the next frame.
When culling, zoom in enough to check the eye and key feather or fur detail, but do not judge every image at 300 percent. Your viewers will see the photograph as a whole, not as a collection of individual pixels.
How to Edit Wildlife Photos in a Natural Order
A consistent workflow helps you avoid wasting time. Whether you use Lightroom, Adobe Camera Raw, Capture One, or another editor, start with broad adjustments and work toward smaller, local refinements. Changing exposure at the end can undo a lot of careful work.
Correct the overall light first.
Begin with white balance and exposure. White balance is especially important in wildlife photography because it affects fur, feathers, snow, water, and the entire mood of the scene. Early-morning and late-afternoon light often carries warmth, while shade can lean cool or green. Do not automatically neutralize it all. Golden light on a deer or a snowy owl can be part of what made the scene special.
Use the exposure, highlights, shadows, whites, and blacks controls to create a full tonal range without clipping important detail. Watch bright white feathers, sunlit egret plumage, pale antlers, and snow. Those areas can lose detail quickly. At the same time, do not lift every shadow until it is gray. Deep shadows can add depth and help the subject stand out.
If the entire photo is a little dark, make a global exposure adjustment. If only the animal is dark against a bright background, a subject mask is usually the better choice. That distinction matters. Brightening the whole frame may make the subject look better while making the rest of the image feel washed out.
Crop for impact, not just for reach
Cropping is one of the most powerful editing decisions you can make. It lets you remove distractions at the edge of the frame, improve balance, and give an animal room to look, walk, fly, or swim into. A bird facing right usually feels more comfortable with a little breathing room on the right side of the composition.
Try to avoid cropping so tightly that the image feels cramped. Wildlife needs space, especially when the surrounding habitat helps tell the story. A tiny bird in a vast marsh and a tight head portrait are both valid choices, but they communicate different things.
Keep an eye on awkward cutoffs. Cropping through feet, tails, ears, or wing tips can work when it is clearly intentional. A near-miss usually just feels accidental. Also consider your final use. A crop that looks great on Instagram may not work as well for a print with a different aspect ratio.
Give the animal selective attention.
Once the overall image looks right, use masks to guide the viewer’s eye. This is where modern editing tools are genuinely helpful, but subtlety is your friend. A small exposure lift on the subject, a little more texture in the feathers, or a gentle darkening of a bright background can create real separation without looking fake.
The eyes deserve special care because that is where viewers tend to connect first. If the eye is naturally visible, a modest increase in exposure or clarity can help. If it is hidden in deep shade, resist the urge to turn it into a glowing marble. Wildlife has texture, depth, and shadow. Let it.
For birds, be cautious with texture, clarity, and sharpening. These controls can bring out beautiful feather detail, but too much can create crunchy edges and halos. Mammal fur can get stiff and wiry for the same reason. Make your adjustment, zoom out, and ask a simple question: does this still look like an animal I would see outdoors?
Color Should Feel Like the Place You Were
It is tempting to push vibrance because nature already gives us incredible color. But a red fox does not need neon-orange fur, and every green marsh does not need to become an emerald postcard.
Start with vibrance rather than saturation when the photo needs a little life. Vibrance generally protects already-saturated colors better, while saturation raises everything at once. If one color is the problem, use the color mixer or HSL controls to adjust that specific hue. This is often useful with greens and yellows in summer grass, blue shadows in snow, or overly intense reds in a bird’s plumage.
Pay attention to reflected color, too. A white bird standing near green vegetation may pick up a subtle green cast. A moose photographed at sunset may reflect warm orange light. Correct unwanted color contamination, but do not erase natural environmental light just because it is not perfectly neutral.
Clean Up Distractions Carefully
A small bright stick behind a bird’s head can pull attention away from the subject. A sensor spot in a smooth sky can be distracting. Removing these kinds of minor distractions is a reasonable part of wildlife editing.
The trade-off comes when cleanup changes the truth of the scene. Removing a few tiny twigs may make a portrait cleaner, but removing every branch around a woodland bird can create a photograph that no longer reflects its habitat. There is no single rule for every image, but transparency and restraint are good guides, especially if you enter competitions or photograph for editorial purposes with specific ethics rules.
Be extra careful around whiskers, feathers, legs, and branch edges. Healing tools can create strange repeating patterns or erase fine details in a hurry. Work slowly, use a small brush, and check your result at normal viewing size as well as close-up.
Sharpen Last, Then Check the Noise
Sharpening should support detail that is already there, not invent detail that was missed in the field. Apply it after exposure, cropping, and local adjustments, because those choices affect how sharp the final image appears.
A practical approach is to sharpen the animal while protecting smooth backgrounds. Masking controls can help keep sharpening off sky, water, and out-of-focus areas, where it often makes noise more obvious. If you used a high ISO, apply noise reduction before final sharpening, but do not smooth the file until feathers and fur look like wax.
Noise reduction is always a balancing act. A little grain can look natural, particularly in a low-light wildlife image. Blotchy color noise is usually more distracting than fine luminance noise, so address color noise first if needed. Then export a test image at the size you actually plan to share or print. What looks noisy at 100 percent may look perfectly fine in a 12-inch print.
Let Your Edit Match the Moment
Not every wildlife photograph needs the same treatment. A dramatic Yellowstone bison in blowing snow may call for cooler tones, contrast, and a little atmospheric mood. A spring warbler in soft Texas woodland light might need a gentler edit that preserves delicate greens and feather detail. The right edit depends on the light, the habitat, the species, and what drew you to the scene in the first place.
Before you export, step away for a few minutes. Come back and compare your edit with the original. If the final image has better direction, cleaner distractions, and a subject that feels alive without looking artificially polished, you are on the right track.
The next time you photograph wildlife, make one promise to yourself: edit to remember what it felt like to be there, not to prove how far you can push a slider. That approach will serve your images well, whether they end up on your wall, in a family album, or shared with the fellow birders who understand exactly why that one little head turn made your day.