
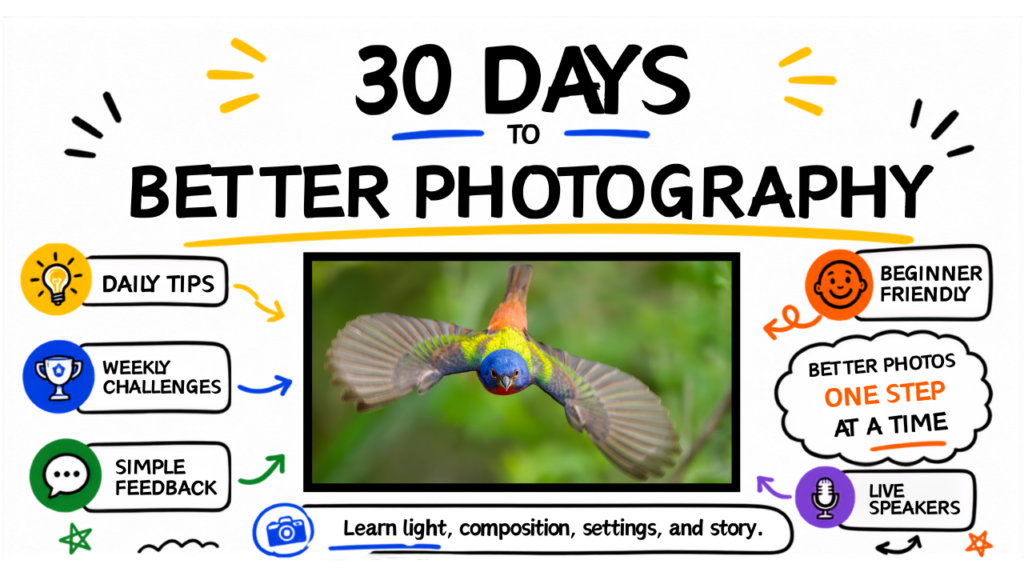
 A bird finally lands in clean morning light, turns its head just enough to reveal that catchlight, and you raise your camera. Then it is gone. Bird photography has a wonderful way of making us feel equal parts thrilled and humbled—often in the same ten seconds. If you are searching for Skool Bird photography, chances are you want more than another collection of stunning bird photos. You want to understand what happened, what your camera needed, and how to be ready for the next time.
That is where structured learning, regular practice, and thoughtful feedback can make a real difference. The goal is not to memorize a pile of camera settings. It builds field confidence so you can enjoy the birds in front of you and make photographs you are proud to share.
What is Skool Bird photography
An online bird photography community or course can be useful, especially when it gives you a place to ask questions between outings. But watching lessons alone will not turn a difficult flight shot into a keeper. The best learning experience connects the technical side of photography to real decisions in the field.
You need to know why a fast shutter speed is relevant for a tern banking over water, but you also need to recognize when the light is so low that pushing for a faster shutter speed creates more problems than it solves. You need to understand autofocus modes, but you also need to see how a busy background can fool even an excellent camera.
Look for instructions that explain the reasons behind the recommendation. A helpful teacher will say, “Try this setting for this situation,” and then help you understand when to change it. Birds do not follow a script, and neither should your settings.
Start With a Reliable Bird Photography Baseline
Before you chase the perfect action image, give yourself a dependable starting point. For perched birds in decent light, many photographers begin around 1/1600 second, use continuous autofocus, and select a burst mode that lets them capture small changes in posture. The exact ISO and aperture will depend on your lens, your available light, and how much of the bird you want in focus.
For a larger bird sitting fairly still, you may be able to use a slower shutter speed. For a hummingbird, a swallow, or a raptor in flight, you will usually need much more speed. A shutter speed of 1/2500 second or faster is often a sensible place to begin for birds in flight, though wing motion, direction of travel, and your focal length all matter.
The useful part is not the number itself. It is learning to check your results and adjust with purpose. If the bird’s eye is sharp but its wings blur, decide whether that blur feels intentional or distracting. If the entire bird is soft, ask whether your shutter speed, autofocus placement, or panning technique was the weak link. That kind of review turns every outing into practice rather than a guessing game.
Let the Light Make Some Decisions for You
Early and late light can be beautiful, but it is also limited. When light drops, your camera has to give somewhere: shutter speed slows, ISO rises, or aperture opens. There is no magic setting that avoids every trade-off.
For a portrait of a perched cardinal, a higher ISO may be the better choice if it protects the feather detail and keeps the eye sharp. For a moving bird in deep shade, it may be smarter to put the camera down for a moment, watch behavior, and wait for the bird to move into better light. That is not giving up. It is making a photographer’s decision.
Pay attention to the direction of light as well. The front light makes identification and feather detail easier. Side light can add dimension. Backlight can create a glowing rim around a heron’s feathers or turn a common subject into something memorable. Each choice changes the feeling of the image.
Practice the Skills Birds Demand Most
Bird photography can feel complicated because several skills happen at once. You are reading behavior, managing exposure, tracking focus, finding a clean background, and trying not to trip over a root. Thankfully, you do not have to improve everything at once.
Spend a few outings with one clear assignment. One morning, focus only on getting your eye sharp on perched birds. Next, practice keeping a bird in the viewfinder as it flies across open water. Another day, look for photographs with clean backgrounds and resist the urge to shoot when branches are growing out of your subject’s head. We have all made that picture.
Local parks, backyard feeders, wetlands, and neighborhood ponds are excellent classrooms. You do not need a rare bird or a faraway trip to build skill. A familiar great egret can teach you about exposure to bright water. A sparrow at a feeder can teach you where to place focus. A grackle can teach you patience, whether you asked for that lesson or not.
Learn to Photograph Behavior, Not Just Feathers
A technically sharp bird on a stick is a fine place to start. The images people remember usually suggest a story: a kingfisher hovering before a dive, a spoonbill shaking water from its bill, a parent bird delivering breakfast, or a raptor glancing toward something outside the frame.
The key is to watch before you shoot. Notice where a bird repeatedly lands, which direction it faces, and what happens just before it takes off. If the bird is comfortable and you are at a respectful distance, stay put. Constantly moving closer may flush the subject and almost always makes the experience worse for the bird.
Give the bird room in the frame in the direction it is looking or moving. That small bit of space can make a photograph feel more natural and intentional. It also helps when you are still learning to track a fast subject through the viewfinder.
How Feedback Makes Your Learning Faster
One of the most valuable parts of online Bird Photography group is the chance to receive feedback from photographers who can see what you may be missing. A good critique is not simply “nice shot” or “use a faster shutter speed.” It identifies what is working and offers a specific next step.
When you share an image, include the situation. Was the bird backlit? Were you handholding a long lens? Did the bird suddenly take off? Include your shutter speed, aperture, ISO, and autofocus mode if you can. Those details give others enough information to offer practical advice rather than generic opinions.
Ask focused questions, too. Instead of asking whether people like an image, ask whether the crop feels too tight, whether the eye appears sharp, or whether the background distracts from the subject. You will get better answers, and you will begin to evaluate your own images with more clarity.
Feedback works best when you do something with it. Choose one suggestion, practice it on your next outing, and compare the results. Trying to change six things at once is a quick route to frustration.
Use Gear You Can Carry and Understand
There is always a newer camera body, a longer lens, or an accessory that promises to solve your bird photography problems. Better gear can absolutely help, particularly with autofocus performance, low-light files, and reach. But it is not a substitute for knowing your equipment well.
A camera with a modest telephoto lens, used consistently, will teach you more than a complicated setup that stays in the closet because it feels intimidating. Learn how to change your shutter speed without taking your eye from the viewfinder. Practice switching autofocus settings before you need them. Know where your exposure compensation control lives when a white egret suddenly fills your frame.
If you are considering a new lens, think about your typical subjects and shooting locations. A heavier, longer lens may be perfect for distant shorebirds and raptors, but it can be tiring on a long walk. A lighter lens may encourage you to get outside more often. The best choice depends on how you actually photograph, not just on the specifications.
Take Online Learning Back Outside
Online lessons can give you a terrific foundation, and a supportive community can keep you motivated. Still, the real test is standing beside a marsh before sunrise, with changing light, moving birds, and a camera that suddenly seems to have more buttons than you remember.
That is why field-based instruction is so powerful. Working alongside an experienced instructor lets you ask, “Why are you standing here?” or “What would you change right now?” while the situation is unfolding. At Jeff & Angie Photography workshops, those real-time conversations are a big part of the experience—practical guidance, honest answers, and plenty of room to learn at your pace.
Whether you learn online, in your backyard, or on a photography trip, keep your next goal small and specific. Go find one bird, spend time watching it, and make a few intentional frames. The next memorable photograph usually starts long before you press the shutter.