
I decided to reminisce a bit today after finishing up my Bird Photography 101 class at the Rockport Hummingbird Festival and realizing just how far Jeff and I have come over the past fifteen years. After all, we began just like many of you—fumbling with settings, missing shots, and wondering whether we would ever get it right.
In fact, I still remember the first time Jeff and I tried bird photography. We were on the back porch, coffee in hand, watching a cardinal flit between the mesquite trees. I grabbed my camera, fumbled with the settings, and fired off about thirty shots. Know how many were in focus? One. Maybe. And that bird was half out of frame.
We laughed about it then, and of course, we still laugh about it now. However, that frustration—that feeling of, “Why can’t I obtain a single decent shot?”—is something every bird photographer has experienced. Every. Single. One.
That’s precisely why we put together this complete guide to bird photography. Whether you’re pointing your camera at a backyard feeder or chasing spoonbills along the Texas coast, we’re covering everything you need—from camera settings and gear to field techniques, composition, ethics, and ways to improve faster.
Most importantly, there are no walls of jargon and no gatekeeping. Instead, you’ll get real, practical advice from two people who have made just about every mistake in the book.
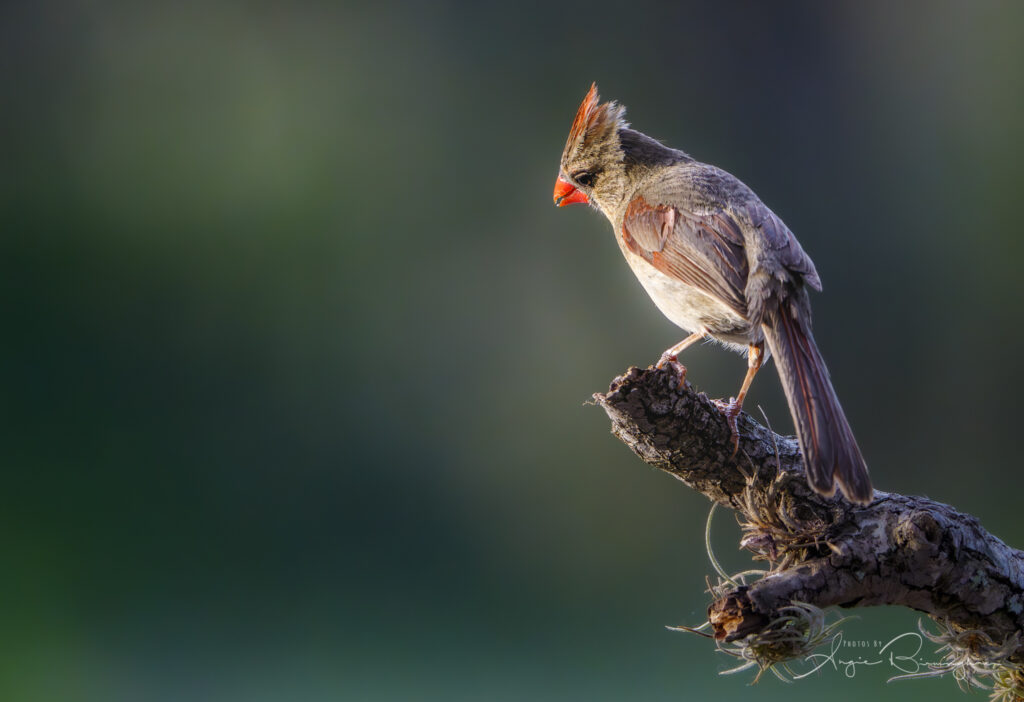
What Is Bird Photography?
Let’s start with the basics, because bird photography for beginners can feel overwhelming before you even press the shutter. Fortunately, it doesn’t have to be.
Bird photography is precisely what it sounds like—capturing images of birds in their natural environment. However, don’t let that simple definition fool you. It’s one of the most challenging and rewarding genres of wildlife photography out there.
Birds are small, incredibly quick, and unpredictable. On top of that, they absolutely aren’t concerned about your schedule. You can’t exactly ask a hawk to “hold still and tilt its head a little to the left.” Trust us, we’ve tried—in our heads, anyway.
What makes bird photography special is the combination of technical skill, patience, and a genuine connection with nature. In other words, you’re not just operating a camera. You’re learning bird behavior, reading the light, and developing an almost sixth sense for when something magical is about to happen.
And when it does? That one frame where everything comes together—the light, the pose, the background, and the eye contact—can feel like pure magic. For example, we’ve watched students literally jump up and down in the field after getting a sharp shot of a painted bunting. That’s the power of this craft.
Best Bird Photography Settings for Every Situation
If there’s one question we get more than any other, it’s, “What settings should I use?”
And we get it. Bird photography settings can be tricky to pin down—pun absolutely intended. However, once you understand why you’re choosing each setting, the numbers start to make a lot more sense.
Eventually, those choices become almost automatic. Instead of wondering what shutter speed, aperture, or ISO you should use, you’ll begin adjusting them based on the bird, the light, and the behavior happening right in front of you.
Shutter Speed: Freeze the Action
Birds move. A lot. And fast. Because of that, shutter speed is one of the most important settings in bird photography.
- Perched birds: 1/500 to 1/1000 second is usually enough.
- Birds in flight: Start around 1/2000 second. For faster subjects, such as hummingbirds or diving raptors, push that to 1/3200 or even 1/4000.
- Creative motion blur: Want to show wing movement while keeping the bird’s body sharp? Instead of freezing all the action, try 1/250 to 1/500 second while panning with the bird. At first, it takes some practice. However, the results can be stunning. Depending on the effect you want, you may even experiment with slower shutter speeds. You’ll delete plenty of blurry frames along the way, but when everything comes together, nailing the shot you envisioned is incredibly rewarding.
Aperture: Control Your Background
Most bird photographers love using wide apertures such as f/4 to f/5.6 because they can help create a beautifully blurred background. However, many popular wildlife zoom lenses have maximum apertures ranging from f/6.3 to f/8, and that doesn’t mean you can’t get excellent background separation.
In fact, if the bird is relatively close and the background is farther away, even f/8 can produce a soft, pleasing background—especially when you’re using a longer focal length.
So, instead of worrying about having the widest aperture possible, make the most of the equipment you already have. Good positioning, subject distance, and background distance can matter just as much as the f-stop.
ISO: Don’t Be Afraid of the Noise
Here’s something many guides won’t tell you straight: A noisy photo that’s sharp is always better than a clean photo that’s blurry. Always. Push your ISO as high as you need to get the shutter speed. We’ve shot at ISO 12800 in dense canopy and gotten frame-worthy images. Modern noise reduction software is remarkably effective. Don’t let fear of grain ruin your shot.
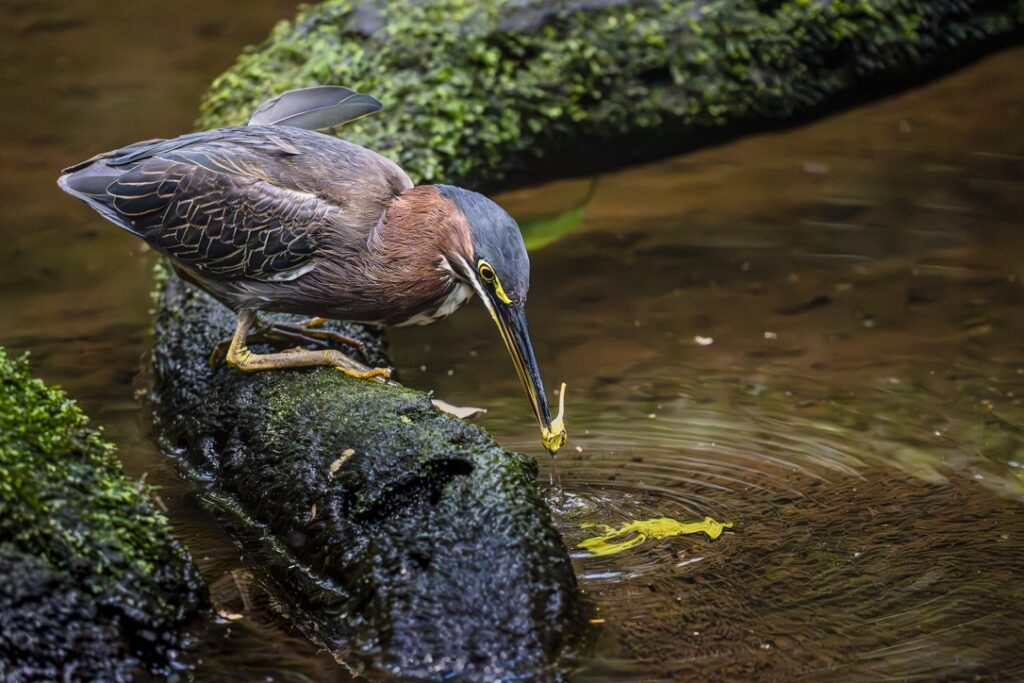
A Starting Point for Beginners
If you want a “set it and forget it” baseline:
Mode: Shutter priority (Tv/S) or manual with auto ISO
Shutter speed: 1/1600 second
Aperture: Wide open (the lowest number your lens allows; most lenses are f/6.3 or f/8)
ISO: Auto, capped at 6400 (I cap mine at 12,800)
Focus: Continuous AF with bird/eye detection if your camera has it
Drive: High-speed continuous
Start there. Adjust as you learn. There’s no shame in Auto ISO—even pros use it.
Essential Gear for Bird Photography
Okay, let’s talk gear. We’re going to be radically transparent here (it’s our thing), because the photography world has a gear-shaming problem and a “you need this $15,000 lens” nonsense. You don’t. Let’s break it down honestly.
Camera Body
Any interchangeable-lens camera made in the last 5-7 years can produce excellent bird photos. What matters most: autofocus speed and tracking (mirrorless cameras with eye detection have genuinely changed the game), frames per second (8-10 is plenty), and high ISO performance. Don’t feel pressured to buy full-frame—many wildlife photographers actually prefer crop-sensor (APS-C) bodies because the 1.5x or 1.6x crop factor effectively gives you more reach. A 400mm lens on APS-C gives you a 600mm equivalent. That’s real reach in your favor.
Lenses
This is where most of your budget should go. A good lens on a modest body will outperform a premium body with a mediocre lens every time.
Budget-friendly starting point: A 70-300mm or 100-400mm lens ($300-$1,000 used) will get you started on backyard birds and larger subjects like herons and egrets.
The sweet spot: A 150-600 mm or 60-600 mm from Sigma and a Tamoron 50-400 mm ($900-$2,100 new) is the best value-to-reach ratio in bird photography. We constantly recommend these to our students.
Midrange (mirrorless lenses): Canon offers 100-400mm, 100-500mm, and 200-800mm wonderful lenses; Sony has 100-400mm, 200-600mm, and 400-800mm lenses that produce gorgeous images; and Nikon also offers 100-400mm and 180-600mm lenses that produce stunning images. (All of them range from $800 to $3,000.)
Premium: 500mm f/4 or 600mm f/4 primes ($8,000-$13,000). These lenses are beautiful, but they are absolutely not required to create stunning work.
Support and Accessories
A tripod with a gimbal head is essential for long lenses—your arms will thank you. A monopod is a lighter alternative for hiking. A bean bag is cheap, versatile, and perfect for shooting from your car window, one of the best blinds. And a simple rain cover for your camera is essential—because birds don’t stop for weather, and neither should you.
Bird Photography Tips for Beginners (That Actually Work)
We’ve taught hundreds of photographers through our workshops and mentorship programs, and we’ve noticed that the same handful of things make the biggest difference for people just starting out. Here are our top bird photography tips for beginners—the stuff that actually moves the needle.
Learn Your Subject’s Behavior
This is the tip that separates the merely competent from great. Spend time watching before shooting. Learn when your local birds are most active (usually early morning and late afternoon). Learn their feeding patterns, favorite perches, and alarm calls. The more you understand your subject, the more you can anticipate—and anticipation is everything.
1. Get Low
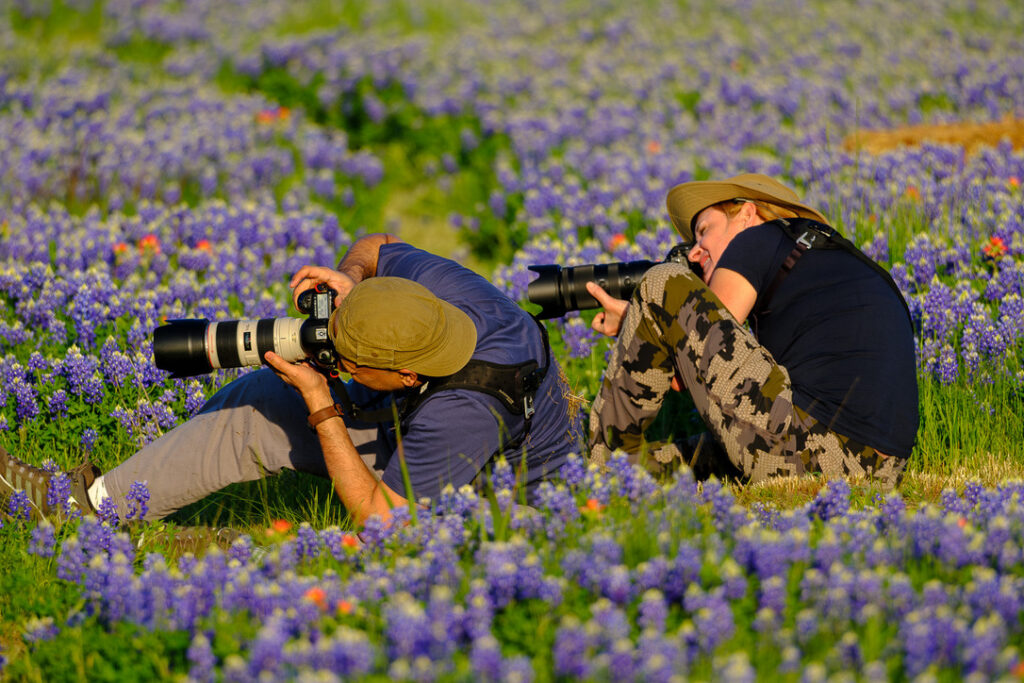
Shooting at eye level transforms an ordinary photo into something intimate and powerful. It blurs the foreground and background and makes the viewer feel like they’re in the bird’s world. This might mean sitting in mud or getting uncomfortably close to fire ants (Jeff has stories). It’s worth it.
2. Chase the Light
Golden hour isn’t a cliche—it’s a fundamental truth. The soft light of early morning and late afternoon gives you fast shutter speeds at lower ISO, creates beautiful color, and puts a catchlight in your subject’s eye that brings the photo to life. Overcast days are your friend too—they act like a giant softbox.
3. Focus on the Eye
If the eye is sharp, the photo works. Period. A sharp eye with a catchlight makes viewers connect with the image, even if everything else is slightly soft. Most modern cameras have eye-detection AF—use it.
Patience Over Chase
The bird will come to you. Find a prime spot, be still, and wait. Chasing birds almost never works—they see you coming and they’re gone. But sit quietly near a food source or water, and they’ll return to their routine, often coming closer than you’d believe. Patience is your most powerful lens.
Shoot in Bursts
Birds change posture in a fraction of a second. A wing shift, a head turn, a takeoff—these happen between heartbeats. High-speed continuous bursts give you multiple frames to choose from. Memory cards are cheap. Missed moments aren’t.
Common Bird Photography Mistakes (and How to Avoid Them)
We share these mistakes because we’ve made them all. More importantly, we want you to learn from our stumbles instead of having to make every mistake yourself.
Mistake 1: Too much zoom, not enough environment.
It’s tempting to fill the frame every time. However, sometimes the habitat is an important part of the story. For example, environmental portraits—where the bird is smaller in the frame—can be even more powerful than a tight crop.
Mistake 2: Ignoring the background.
A perfect bird against a chaotic background can still fall flat. Before you press the shutter, therefore, take a moment to scan the edges of your frame. Move a few inches and watch how the background changes. Sometimes, as a result, a single step can transform a messy shot into a clean one.
Mistake 3: Over-sharpening in post.
Birds have fine feather detail, so too much sharpening can quickly make those feathers look crunchy and unnatural. Instead, apply sharpening gently and then zoom to 100% to assess the image. If it starts looking “crispy,” back it off.
Mistake 4: Giving up too soon.
Some days are magical, and those are the days you want to stay. Most days, however, are slower. Still, the photographers who come home with extraordinary images are often the ones who stayed an extra hour after everyone else packed up.
Mistake 5: Not reviewing your shots in the field.
Check your histogram and focus while you’re still in position. That way, you can correct a settings issue while you still have a chance to photograph the subject again. However, don’t review every single shot, or you may miss the action while staring at the screen.
Ethical Bird Photography: Why It Matters
This is personal to us. It’s not just a section in a guide—it’s a core value. Ethical bird photography isn’t optional. It’s the foundation.
Here’s the unvarnished truth: no photograph is worth harming your subject. Ever. If getting the shot requires stressing the bird, disrupting its nest, or altering its behavior, the shot isn’t worth it. Full stop.
Our ethical guidelines, which we teach in every workshop, are as follows:
Respect nesting sites. Keep your distance, never touch a nest, and don’t share nest locations publicly. Predators follow social media too.
Keep your distance. If a bird is changing behavior because of you—flushing, alarm-calling, abandoning a perch—you’re too close. Back up.
Don’t use flash on nocturnal birds. It can disorient them.
Follow the rules. Refuges and preserves have guidelines for a reason. Stay on trails; respect closures.
Leave no trace. Pack out everything; trample nothing.
We know some photographers push these boundaries in pursuit of “the shot.” We’ve seen it, and it breaks our hearts a little every time. The bird photography community—our Feathers and fstop family—is better than that. Ethical photographers produce more meaningful work, because the story behind a genuine, unmanipulated moment is always more powerful than one manufactured for likes.
How to Improve Your Bird Photography—Fast
Reading guides is a great start. But if you want to accelerate your growth, there’s no substitute for field time with experienced photographers who can give you real-time feedback. Here’s what we’ve seen work, over and over:
Practice consistently. Even 30 minutes a day in your backyard builds muscle memory. The camera becomes an extension of your hands. The settings become instinct.
Get feedback. Not “nice shot” comments on social media—real, constructive critique from someone who knows what they’re looking at. This is where most photographers stagnate.
Invest in education. A good workshop or mentorship program compresses years of trial and error into days. You learn technique, fieldcraft, and the intangibles that only come from being alongside experienced photographers in the field.
Study the masters. Look at work from photographers you admire. Not to copy them, but to understand why their images work. Deconstruct great images; if they’re exceptional, you’ll internalize the principles.
Ready to Take Your Bird Photography to the Next Level?
We’ve poured everything we’ve learned over years of fieldwork into resources designed to help you grow—whether you’re picking up a camera for the first time or refining your craft.
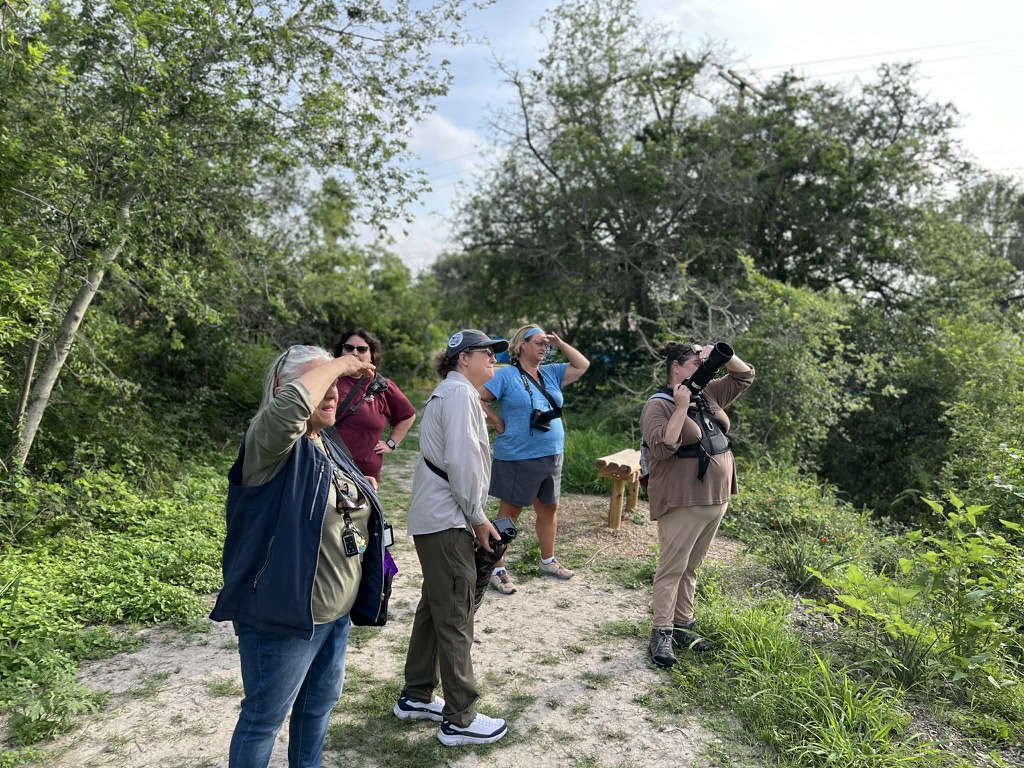
Book your spot at a bird photography workshop—join us in the field for small-group, hands-on instruction in South Texas, Caddo Lake, Yellowstone, Alaska, and Costa Rica. Intentionally small groups. Real-time feedback. No-surprises promise. You’ll leave with better images, deeper knowledge, and probably a few new friends in the Feathers and Fstops community.
Enroll in the Monthly Mentorship. Our comprehensive online or in-person mentorship covers settings, fieldcraft, and post-processing. Learn at your pace, with lessons you can revisit anytime. One-on-one guidance tailored to your goals, your gear, and your growth areas. The fastest path from where you are to where you want to be.
Join a guided bird photography tour. Let us handle the logistics while you focus on photography. We know the locations, the timing, and the light. You bring the passion; we bring the plan.
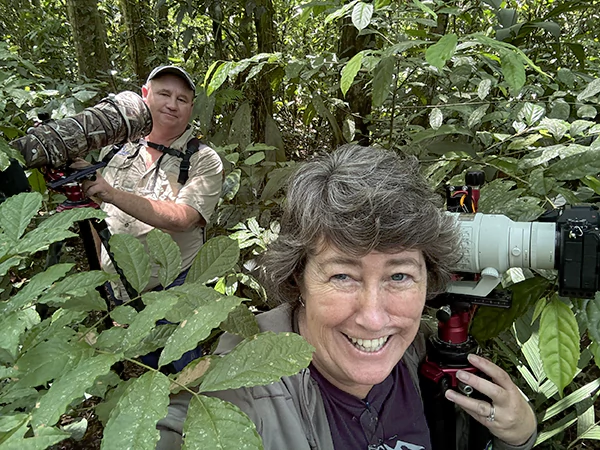
Jeff & Angie Photography is a husband-and-wife team that educates photographers in wildlife photography, based in Corpus Christi, Texas. Angie is a PPA Master of Photography—held by only about 3% of PPA members. Together, they’ve built a 5-star reputation, helping photographers at every level build confidence and come home with images they’re proud of. Sharp Shooter Foto, a 501(c)(3) nonprofit, brings free photography education to young people.