
Every wildlife photographer knows the feeling: you spot a perfect moment, press the shutter, and later discover the image is soft, flat, or cluttered. The good news is that most of those problems come down to a handful of repeatable skills.
If you want to learn wildlife photography the smart way, build these habits one at a time.
Here are seven skills that will help you improve wildlife photography, whether you are photographing songbirds in your backyard or grizzlies along a distant river.
1. Learn Your Subject’s Behavior
The best wildlife images start before you lift the camera. Animals follow patterns: they feed at certain times, return to favorite perches, and show clear signals before they move or take off. Watching quietly for ten minutes often teaches you more than an hour of chasing. Notice where a bird looks before it launches, how a deer behaves when it relaxes, and where the light falls on its favorite spot. When you can predict an action, you can frame it and focus on it at its peak instead of reacting a half-second late. Audubon advises photographers to carefully watch a bird’s behavior so they can recognize signs of nervousness and ease off before disturbing it. This is why good wildlife photography training starts with fieldcraft, not gear.
2. Master Exposure and Shutter Speed
Exposure is the balance of aperture, shutter speed, and ISO, and wildlife punishes mistakes in all three. Moving animals demand fast shutter speeds; many photographers start near 1/1000 second for alert subjects and push to 1/2000 or faster for birds in flight. Use a wide aperture to separate your subject from the background, then raise your ISO as needed instead of risking a blurry frame. A slightly grainy, sharp photo beats a clean, blurry one every time. Practice until changing settings feels automatic, because the moment will not wait, and wildlife rarely gives you a second chance. Hands-on wildlife photography classes help here, since you adjust settings in real conditions with an instructor beside you.
3. Work With Natural Light
Light shapes mood, color, and detail more than any lens. Early morning and late afternoon bring soft, warm, directional light that adds dimension to fur and feathers and puts a sparkle in the eye. Midday sun creates harsh shadows and blown highlights, so look for open shade or shoot on overcast days for even tone. Position yourself so light falls across your subject’s face rather than behind it, unless you are deliberately creating a rim-lit silhouette. Check the light direction before you choose where to stand, and your results will improve quickly.
4. Nail Focus and Sharpness
Sharpness is often the difference between a keeper and a delete. Use continuous autofocus for moving subjects and place your focus point on the eye, because viewers connect with the eye first. Brace your elbows, or use a monopod or tripod with a long lens, to keep the camera steady. Watch your depth of field as well: a very wide aperture on a large animal can leave part of it soft. Many cameras now offer animal-eye detection, which is useful, but learning to control focus yourself gives you confidence when the technology struggles. A long lens also lets you work from a respectful distance; Grand Teton National Park, for example, requires at least 100 yards from bears and wolves and 25 yards from other wildlife.
5. Compose With Intention
A sharp photo of a cluttered scene is still a weak photo. Before you shoot, scan the background for bright spots, branches sprouting from heads, and distracting lines, then move a few steps to simplify the frame. Get low, ideally at the animal’s eye level, to create intimacy. Leave space in the direction your subject is looking or moving so the image feels balanced. Decide whether a tight portrait or a wider environmental shot tells the better story; including habitat often turns a record shot into a memorable image.
6. Practice Ethical Fieldcraft
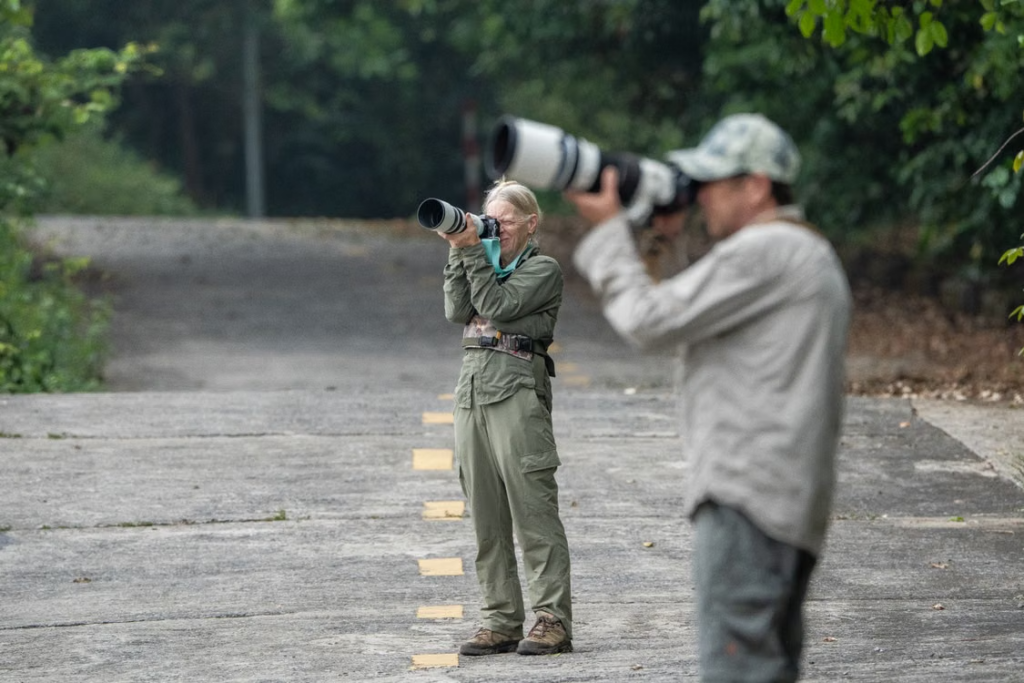
Great photographers put the animal first. Audubon’s guide to ethical bird photography stresses respect for birds and their habitat, discourages playback of calls, and asks you to consider whether luring a bird closer could cause harm. Learn the rules wherever you shoot, follow local guidance, and keep your distance. Following these standards protects animals and keeps you safe, and calm animals behave more naturally, which means better photos.
7. Review, Learn, and Edit
Your learning accelerates when you study your own images. After each outing, review which frames worked and why. Check the histogram to confirm you are not clipping highlights or crushing shadows, because it tells you more than the camera screen alone. Shoot in RAW so you have room to adjust exposure, white balance, and detail, and keep your edits natural. Honest feedback from an experienced eye speeds this up, which is why our bird photography masterclass includes image reviews that show what worked and how to improve next time.

Grow Your Skills in the Field With Jeff and Angie
Learning to improve wildlife photography is a matter of steady practice: observe behavior, control exposure, read the light, focus on the eye, compose with care, respect the animal, and review your work honestly. Each skill supports the others, and progress comes fastest when you practice in the field instead of only reading about it.
That is exactly how we teach at Jeff and Angie Photography. We are Texas-based photographers with more than 40 combined years of experience, and we focus on real light, real moments, and real guidance outdoors. Whether you join a small group bird photography workshop or choose private wildlife photography lessons by video call or in person in Corpus Christi, you get personal feedback on camera settings, composition, editing, and image review.
Explore our wildlife photography workshops in Texas and beyond, or contact Jeff and Angie today to find the right fit for your skill level. Reach out now, and let’s get you behind the camera!