
Table of Contents
- Essential Camera Gear for Beginner Wildlife Photography
- Best Camera Settings for Wildlife Photography
- Wildlife Photography Lens for Beginners
- Planning and Scouting Your Location
- Composition and Fieldcraft Techniques
- Ethical Wildlife Photography Practices
- Handling Low Light and Golden Hour
- Common Beginner Mistakes to Avoid
- Frequently Asked Questions
Last Updated: September 25, 2026
Essential Camera Gear for Beginner Wildlife Photography
You don’t need expensive equipment to start capturing wildlife. The right gear matters less than understanding how to use what you have. Many beginners think they need a professional camera body and a collection of lenses before they can shoot anything worthwhile. That’s not true.
Start with what works. A camera with manual mode, whether it’s a DSLR, mirrorless, or even a smartphone with manual controls, can produce stunning images. The key is learning to adjust your settings intentionally rather than relying on automatic modes.
For beginner-friendly wildlife photography tips, focus on these essentials:
- A camera body that lets you control shutter speed, aperture, and ISO manually
- A telephoto lens (200-400mm range helps, but start with what you have)
- A sturdy tripod to stabilize long lenses
- Extra batteries and memory cards
- A camera bag that protects your gear in the field
Telephoto lenses bring distant subjects closer without disturbing them. This matters for both image quality and ethical wildlife photography practices. A 70-300mm lens works for many beginners and costs far less than professional-grade equipment. If budget is tight, rent gear before buying. Many camera shops offer affordable daily rentals.
The best investment isn’t always the newest camera. It’s learning to see light, anticipate animal behavior, and compose thoughtfully. Jeff and Angie Photography has guided photographers through this exact journey, from uncertain beginners to confident shooters, using whatever gear they brought to the field.
Best Camera Settings for Wildlife Photography
Mastering manual mode transforms your wildlife photography. The three settings you control are shutter speed, aperture, and ISO sensitivity. Each one affects your image in a specific way.
Shutter Speed: The Purpose of Your Photo
The shutter speed determines whether you freeze the action or let it blur.
Shutter speed determines whether you freeze motion or let it blur. Fast speeds (1/1000 or faster) freeze a bird mid-flight. Slower speeds (1/30 to 1/125) let moving subjects blur intentionally, showing motion and energy.
Start with these guidelines:
- Flying birds: 1/1600 or faster
- Running mammals: 1/500 to 1/1000
- Walking subjects: 1/250 to 1/500
- Perched or still subjects: 1/125 to 1/250
The exact speed depends on how fast your subject moves and how much light you have. Overcast days require slower speeds to let more light in. Sunny mornings and golden hour let you use faster speeds.
A common beginner mistake is using shutter speeds that are too slow, resulting in blurry images. If your photos look soft or unfocused, increase shutter speed. If your images are too dark, you may need to slow down or adjust aperture and ISO instead.
Aperture: Setting the Mood of Your Shot
Aperture controls how much of your scene stays sharp and how much blurs. Wide apertures (f/2.8, f/4) blur the background while keeping your subject sharp. Narrow apertures (f/8, f/11) keep more of the scene in focus.
For wildlife, wide apertures isolate your subject from distracting backgrounds. This creates professional-looking images where the animal stands out clearly. Most telephoto lenses designed for wildlife start at f/4 or f/5.6, which works well for this purpose.
Aperture also affects how much light reaches your sensor. Wider apertures let in more light, helping in dim conditions. Narrower apertures let in less light but give you more flexibility with shutter speed and ISO sensitivity.
ISO: Turning Up Your Sensor’s Light Sensitivity
ISO is your dial for controlling how sensitive your camera sensor is to available light. Lower ISO values (100-400) produce cleaner images but need more light. Higher ISO values (1600-6400) let you shoot in dim conditions but add visible grain to your photos.
In bright daylight, keep ISO low (100-400). In shade or overcast conditions, you can raise it to 800-1600. At dawn, dusk, or in dense forest, push it higher (3200-6400) if needed. Modern cameras handle high ISO better than older models, so don’t fear it.
The balance is intentional. A slightly grainy image that’s sharp and well-composed beats a perfectly clean image that’s blurry or poorly exposed. Many photographers shoot at ISO 1600 or higher during golden hour and low-light situations without hesitation.
Wildlife Photography Lens for Beginners
A telephoto lens is essential for wildlife photography tips because it lets you photograph animals from a safe distance. This respects the animal’s space and keeps you safe. It also compresses distance visually, making distant subjects appear larger and more prominent in your frame.
For beginners, a 70-300mm lens strikes a good balance between cost, weight, and capability. It covers most common scenarios: birds, small mammals, and distant landscapes. As you progress, you may add a longer lens (400mm or beyond) for smaller or more distant subjects.
Lens stabilization reduces blur caused by hand-holding a heavy telephoto. Look for lenses marked “VR” (Vibration Reduction) or “IS” (Image Stabilization). This feature is worth the extra cost, especially when shooting at slower shutter speeds or in low light.
Focal length affects how you compose. A 200mm lens compresses the scene, making backgrounds appear closer. A 400mm lens compresses even more, isolating subjects dramatically. Experiment with what you have before investing in longer glass.
Planning and Scouting Your Location
Success in wildlife photography starts before you raise your camera. Planning and scouting your location determines what you’ll find and how to photograph it.
Visit your shooting location before the main outing. Walk the area during different times of day. Notice where light hits, where animals tend to move, and where you can position yourself for optimal angles. This reconnaissance work saves hours of frustration in the field.
Research the animals you are targeting. Learn their behavior patterns, preferred habitats, and active times. A heron hunts in shallow water at dawn. Deer graze in meadows during early morning and late afternoon. Understanding these patterns helps you find the best opportunities for wildlife viewing.
Talk to local guides, park rangers, or experienced photographers who know the area. They share insider knowledge about recent sightings, seasonal changes, and hidden spots. This local wildlife scouting accelerates your learning dramatically. If you’re serious about developing these skills, Photography Workshops often include guided scouting sessions where you learn location selection and animal behavior directly from experienced instructors.
Bring a map and binoculars. Scan distant areas for movement before committing to a position. This approach saves energy and increases your chances of finding subjects worth photographing.
Composition and Fieldcraft Techniques
Composition separates ordinary wildlife shots from compelling ones. Strong composition combined with fieldcraft, the skills of moving quietly and remaining undetected, creates images that tell stories.
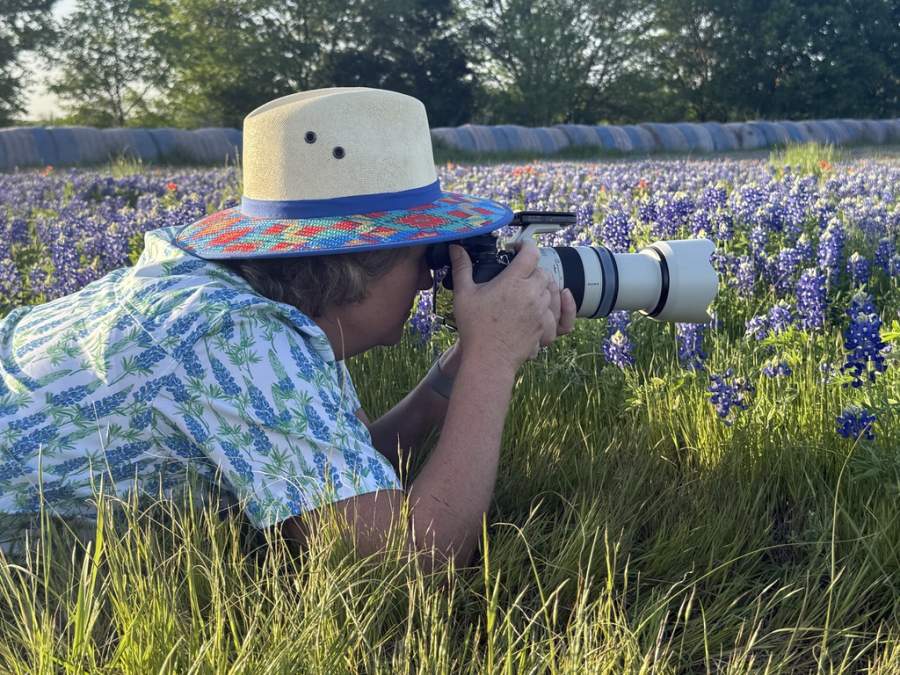
A professional wildlife photographer in camouflage clothing holding a telephoto lens, positioned low in tall grass with binoculars nearby, demonstrating stealth and patience in a natural outdoor setting
Using the Rule of Thirds
The rule of thirds divides your frame into nine equal sections using two horizontal and two vertical lines. Placing your subject along these lines or at their intersections creates visually balanced, engaging images.
Instead of centering your subject, move it to one side of the frame. Leave space in the direction the animal is looking or moving. This creates a sense of space and intention rather than a static, centered snapshot.
Apply this rule thoughtfully, not rigidly. Sometimes centering works. Sometimes breaking the rule creates stronger impact. The point is to think deliberately about where your subject sits in the frame rather than defaulting to center placement.
Stealth and Patience in the Field
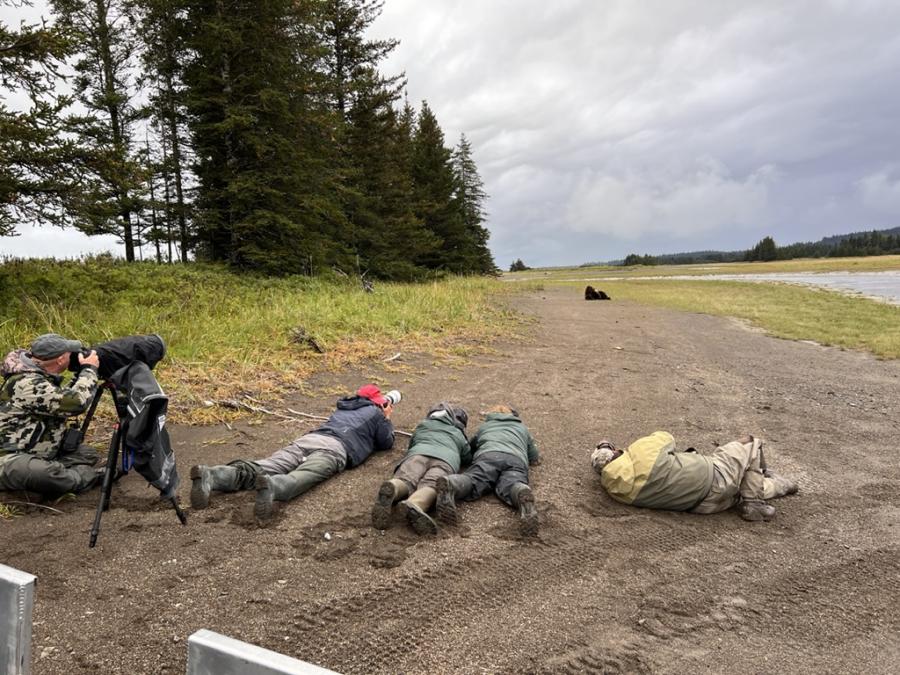
Wildlife won’t cooperate if you crash through the landscape. Fieldcraft means moving slowly, staying low, and remaining downwind of your subjects when possible. Wear neutral colors that blend with your environment. Avoid sudden movements.
Patience is your greatest tool. Sit quietly in one spot for extended periods. Let animals become accustomed to your presence. Many photographers rush, moving constantly in search of subjects. The ones who stay still often get the best images.
A wildlife blind, a structure that conceals you while you photograph, amplifies your effectiveness.
Ethical Wildlife Photography Practices
Ethical conduct protects animals and preserves their habitats for future photographers. Your responsibility extends beyond getting the shot.
Handling Low Light and Golden Hour
Golden hour, the period shortly after sunrise or before sunset, offers warm, directional light that flatters wildlife. Colors become rich. Shadows create dimension. This period is when many photographers do their best work.
Common Beginner Mistakes to Avoid
Relying entirely on autofocus. Autofocus fails in challenging light and with distant subjects. Learn manual focus for backup. Practice focusing on eyes, which viewers instinctively look for first.
Frequently Asked Questions
What are the most common mistakes beginners make in wildlife photography?
Beginners often shoot in automatic mode without understanding shutter speed, aperture, or ISO, resulting in blurry or overexposed images. Other frequent mistakes include getting too close to animals and disturbing their natural behavior, not scouting locations beforehand, and ignoring composition rules. Many also struggle with low-light situations and fail to use burst mode to increase their chances of capturing sharp shots. Starting with manual mode and practicing fieldcraft—moving slowly and quietly—eliminates most of these issues quickly.
What is the best lens for beginners starting wildlife photography?
A telephoto lens between 200mm and 400mm focal length works best for most beginners. This range lets you photograph animals from a safe distance without disturbing them while keeping images sharp. Budget-friendly alternatives include used telephoto lenses or entry-level zoom lenses like 70-300mm models, which cost less than premium options but deliver excellent results. Pair your telephoto lens with a tripod or monopod for stability and sharper images, especially in low light or when using slower shutter speeds.
How do I keep my wildlife photos sharp?
Sharpness depends on three factors: fast enough shutter speed to freeze motion (typically 1/1000s or faster for moving animals), proper focus using back-button focus or continuous autofocus modes, and stable support like a tripod. Increase your ISO dial to turn up your sensor’s light sensitivity if you’re shooting in dim conditions—modern cameras handle this well. Use burst mode to capture multiple frames per second, giving you more chances to nail focus on a moving subject. Finally, shoot in raw format for maximum detail and flexibility during post-processing.