
Before the sun clears the trees, a keel-billed toucan may be calling from somewhere you cannot quite see. Hummingbirds zip through the garden like tiny rockets. A howler monkey announces itself with a roar that sounds wildly oversized for its body. That is the promise of a Costa Rica photo tour: a place where the next subject can appear before you have finished changing your camera settings.
Costa Rica is wonderfully rich for photographers, but it is not a wildlife theme park with perfect light on demand. Rain is part of the deal. Humidity can fog a lens. Birds often sit in shadow while the background is blazing bright. The photographers who come home happiest are not necessarily the ones with the longest lenses. They are the ones who arrive ready to slow down, adapt, and learn in the field.
Why Costa Rica Works So Well for Nature Photographers
Costa Rica packs an astonishing range of habitats into a country smaller than West Virginia. In a single trip, you can photograph tropical dry forest, misty cloud forest, rainforest, volcanic landscapes, mangroves, rivers, and Pacific beaches. That variety creates real opportunity, especially for photographers who enjoy birds, wildlife, macro subjects, and environmental landscapes.
Bird photographers have plenty to get excited about. Tanagers, motmots, toucans, parrots, hummingbirds, herons, kingfishers, and colorful tropical migrants can all be part of the experience, depending on where and when you travel. Mammal possibilities include sloths, monkeys, coatis, peccaries, bats, and, with some luck and patience, more elusive rainforest species.
The big advantage is not simply the species list. It is access. Well-maintained lodge grounds, forest trails, feeding stations, river edges, and canopy viewpoints can put you close enough to practice the skills that matter most: finding a clean background, working with changing light, anticipating behavior, and making intentional compositions instead of taking hurried snapshots.
A Costa Rica Photo Tour Is About More Than a Checklist
It is tempting to judge a trip by how many species you photograph. We understand the excitement. There is nothing quite like seeing a new bird land at eye level, especially when you have your camera in hand and your settings are ready.
Still, the strongest images usually come from time with a subject, not a rushed checklist. A great tour builds in enough breathing room to revisit productive locations, wait for the rain to ease, and let photographers work a scene from more than one angle. If a guide says, “Let’s give this a few minutes,” that’s often when the best moments happen.
Small-group instruction is especially valuable here. Tropical conditions move fast. One photographer may need help getting a hummingbird shutter speed high enough, while another is ready to work on exposure compensation for a bright white egret against dark foliage. Personalized coaching helps everyone improve without turning the trip into a lecture.
A good photo tour should also be honest about the physical side of the experience. Some locations involve early starts, uneven trails, heat, stairs, boat transfers, or long travel days between regions. None of that has to stop you from going. It simply means you should choose an itinerary that matches your comfort level and photography goals.
Choose the Season Around Your Priorities
There is no single “best” time for Costa Rica photography. It depends on what you want to photograph and how you feel about the weather.
The drier season, generally December through April on the Pacific side, is often appealing for easier travel, sunnier beach scenes, and more predictable conditions. It can also be busier, and the bright sun can become harsh quickly. Early morning and late afternoon are still your friends.
The greener, wetter months bring regular rain, deeper foliage, dramatic clouds, active amphibians, and a rainforest feel that is hard to beat. Rain can interrupt a shoot, but it can also create reflective leaves, soft light, mist, and those moody jungle scenes people remember. A little weather protection and a flexible attitude go a long way.
Migration and seasonal wildlife behavior add another layer. If birds are your top priority, ask specifically which regions and elevations are included, what species are likely, and how much time is scheduled at each location. If you are hoping for landscapes, find out whether the itinerary includes coastlines, volcano viewpoints, cloud forest, or river travel rather than assuming every wildlife stop will also be scenic at sunrise.
Gear That Earns Its Place in Your Bag
You do not need a suitcase full of gear to have a successful trip. You do need equipment you know how to operate without staring at buttons while a bird flies away.
For wildlife and birds, a telephoto zoom is often the most useful choice because subjects can be close one minute and far away the next. A 100-400mm, 100-500mm, 150-600mm, or similar lens can be a practical fit, depending on your camera system and comfort carrying it. A shorter lens is worth bringing for habitat shots, lodge gardens, landscapes, and those moments when a monkey decides your personal space is acceptable.
A few small items make a bigger difference than people expect: rain protection for your camera, a microfiber cloth, extra batteries, extra memory cards, a comfortable strap or harness, and a simple dry bag for boat travel or sudden downpours. Humidity is real, so give your gear time to acclimate when moving between air conditioning and the outdoors. Opening a cold camera bag in warm, wet air is a quick route to condensation.
Tripods can be helpful for landscapes, low-light work, and carefully composed feeder setups, but they are not always practical on narrow trails or during quick wildlife encounters. A monopod can be a good middle ground for some photographers. The best support is the one you can use comfortably and safely without becoming a traffic jam for the rest of the group.
Field Skills That Matter Most in the Tropics
Fast-moving birds and busy backgrounds will test your autofocus settings. Before the trip, spend time practicing back-button focus or your camera’s preferred focus method, continuous autofocus, and subject tracking. You do not need every menu option memorized, but you should be able to quickly adjust shutter speed, ISO, aperture, and exposure compensation.
For perched birds, start with a shutter speed that matches the subject’s movement and focal length. For hummingbirds or birds in flight, you will usually need much faster shutter speeds and a willingness to raise ISO. A slightly noisy sharp frame is almost always more useful than a perfectly clean blur.
Rainforest photography also rewards restraint. The instinct is to photograph every colorful creature immediately. Take the first record shot if you want it, then pause. Look for a cleaner angle. Wait for a head turn. Lower your position to bring the subject closer to eye level. Watch the edges of the frame for distracting branches, bright leaves, and partial animals that sneak into the composition.
And remember that wildlife behavior comes first. Keep a respectful distance, stay on permitted paths, avoid blocking an animal’s route, and never pressure a guide to push closer for a photo.
How to Pick a Tour You Will Actually Enjoy
The most useful question is not “How many species will I see?” Ask, “How will this trip help me make better photographs?” Tour descriptions should clearly explain group size, activity level, lodging style, transportation, expected weather, and what kind of instruction is included.
If you are newer to photography, look for a tour where questions are welcomed and no one makes you feel silly for asking where the ISO button lives. If you are more experienced, look for leaders who can help you refine composition, behavior, light, and editing decisions rather than only identifying species.
It also helps to know the pace. Some tours prioritize maximum coverage, moving frequently to chase a wide range of subjects. Others stay longer in fewer areas to create stronger photographic opportunities. Neither approach is automatically better. A birder who wants to see as much as possible may love the first. A photographer who wants layered images and repeat chances may prefer the second.
Leave Room for Surprise
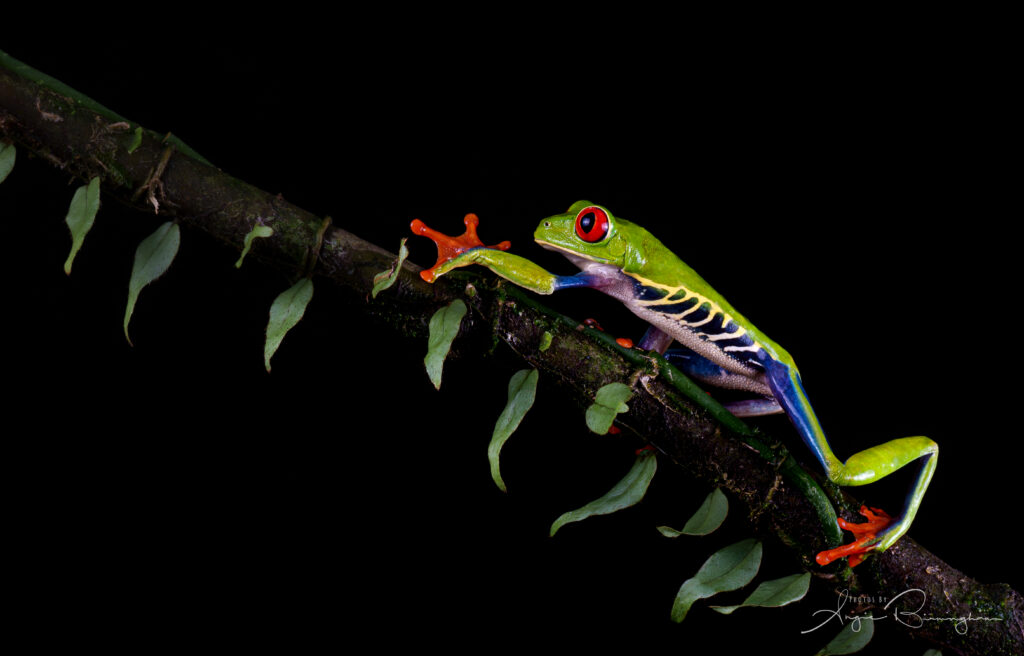
Costa Rica rewards photographers who show up prepared but stay curious. The image you treasure most may not be the toucan everyone came to see. It could be a tiny frog on a wet leaf, a scarlet macaw crossing a peach-colored sky, or a fellow traveler laughing after a surprise shower soaked everyone except the camera bags.
Bring the gear you can handle, learn your settings before wheels-up, and choose a tour with enough guidance and patience to help you grow. Then give yourself permission to put the camera down once in a while. The best photographs often begin with noticing what is happening around you.