
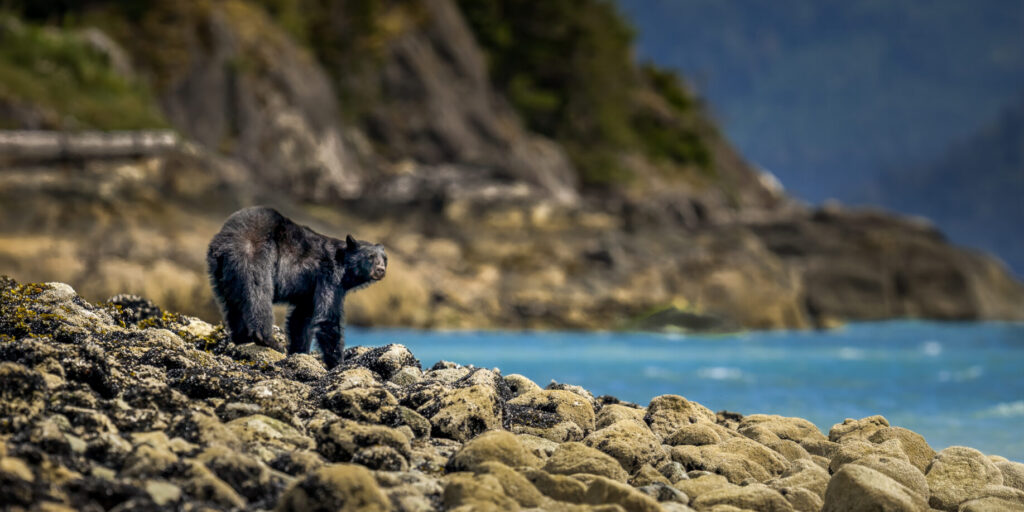
A beautiful scene can make you stop the car, grab your camera, and think, “Well, this one is going to be easy.” Then you get home and wonder why the photograph feels flat compared with the moment. That gap is where landscape composition techniques matter most. They help you decide what the photograph is really about, then guide your viewer there without making them work too hard.
The good news is that composition is not a bag of rigid rules designed to take the fun out of being outdoors. It is a way of making intentional choices. On the shore of Caddo Lake, in the wide-open Texas Hill Country, or in a snowy Yellowstone valley, the same question applies: what caught your eye, and how can the frame make someone else feel it too?
Start With One Clear Subject
A landscape can have a subject even without wildlife. It may be a lone cypress tree, a bend in a river, a dramatic cloud break, a mountain peak, or warm light landing on one patch of grass. Before you set up the tripod, identify the visual reason you stopped.
This sounds simple, but it solves a common problem: trying to include everything. Big views can be overwhelming, especially when the scene is spectacular. If the sky glows, the lake reflects, and the trees are colorful, it’s tempting to fit everything into one frame. Occasionally that works. More often, the viewer needs a stronger visual anchor.
Try asking yourself, “If I could only point to one thing in this photo, what would it be?” Once you have an answer, move around until that element has room to breathe and the rest of the scene supports it. A clean, simple composition will nearly always feel stronger than a crowded one.
 Use Foreground to Create Depth
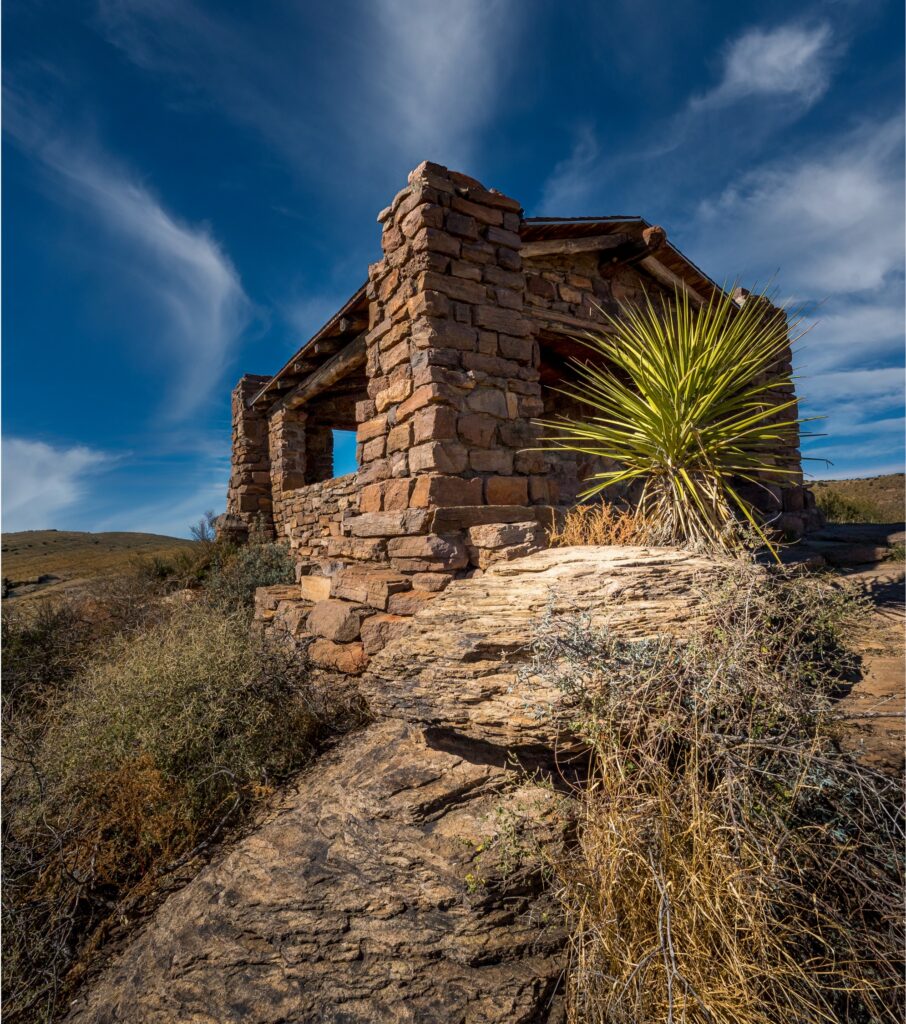
One of the most useful landscape composition techniques is building a foreground, middle ground, and background. This is especially useful when photographing a grand scene that looks three-dimensional in person but turns into a flat postcard through the camera.
The foreground provides viewers a place to enter the image. It might be a cluster of wildflowers, textured rocks, a weathered fence, patterns in sand, or a small pool reflecting the sky. The middle ground carries the eye deeper into the scene, while the background provides scale and atmosphere.
The trade-off is that not every foreground deserves a starring role. A muddy clump of grass at the bottom of the frame is not automatically interesting just because it is close to your lens. Get low only when the foreground adds shape, texture, color, or a meaningful connection to the larger view. If it is distracting, simplify instead.
A wide-angle lens can make a nearby foreground feel wonderfully large, but it can also make distant mountains look tiny. That is not a mistake if the foreground is your story. If the mountain is the story, step back, use a longer focal length, and let the foreground play a quieter role.
Get Close, Then Check the Edges
Once you find a promising foreground, move closer than feels comfortable. A few steps can transform a scattering of rocks into a purposeful leading element. Then look carefully around the edges of your viewfinder. Cut-off branches, bright scraps of sky, half-visible fence posts, and little slivers of distraction are often what make an otherwise strong image feel accidental.
Those edge checks are not glamorous, but they are the kind of field habit that makes a real difference. A two-foot sidestep can be more valuable than a new lens.
Lead the Eye Without Forcing It
Leading lines are everywhere outdoors: trails, rivers, shorelines, ridges, rows of trees, shadows, and the curve of a wave. They can pull a viewer from the foreground toward your subject or through the frame toward the distance.
The key is to use lines with a destination. A trail that begins at the bottom of the image and points toward a colorful tree is helpful. A trail that leads straight out of the frame is less helpful unless that feeling of departure is intentional. Lines should support the photograph’s story, not just announce that you found a line.
Curves often create a relaxed, exploratory feeling. Diagonal lines tend to add energy and movement. Horizontal lines can feel calm and spacious, especially in water, prairie, or layered mountain scenes. There is no universal best choice. You probably should not compose a peaceful, foggy morning and a stormy coastline the same way.
When you find a strong line, avoid placing it exactly in the center by default. Shift your position, change your height, or rotate the camera slightly to see how the line interacts with the rest of the frame. Often, a small adjustment creates more visual tension and a more natural path for the eye.
Give the Sky the Space It Earns
Landscape photographers often hear that the horizon should sit on the upper or lower third of the frame. That is a useful starting point, not a law of nature. The better question is whether the sky or the land is doing more of the visual work.
If the clouds are building, light is breaking through, or a sunrise is genuinely carrying the mood, give the sky room. If it is a blank blue afternoon, there is no prize for including half the frame of empty color. Lower the horizon and emphasize the land, patterns, or foreground instead.
Keep an eye on a level horizon, particularly around water. A slightly crooked horizon can make a viewer feel uneasy before they even know why. Use your camera’s electronic level if it has one, or correct a small tilt while editing. Just be careful not to straighten so aggressively that you crop away an important edge element.
Frame With Light, Not Just Objects
We tend to think of framing as putting trees, rock arches, or tall grasses around a subject. Those can work beautifully, but light can frame a scene just as effectively. A strip of sunrise light across distant hills, a spotlight on a barn, or a bright opening between dark storm clouds can tell the viewer exactly where to look.
This is why patient photographers often come home with better images than hurried ones. In changing light, your composition may be mostly ready before the photograph is ready. You may have found the curve in the road and the tree that balances the frame, but the real moment arrives when the sun breaks through for thirty seconds.
That does not mean you should wait for dramatic light every time. Soft overcast conditions are fantastic for intimate forest scenes, waterfalls, and details where harsh shadows would be distracting. Bright midday light can work for graphic desert forms, black-and-white scenes, or high-contrast patterns. The goal is not to fight the conditions. It is to choose a composition that makes sense for them.
Simplify Before You Press the Shutter
When a scene feels busy, most photographers reach for a wider view. Try the opposite first. Zoom in, change your position, lower the camera, or use a longer lens to remove the clutter. A telephoto landscape can isolate repeating ridges, compress layers of trees, or turn distant fog into a simple abstract design.
Negative space is part of this decision. An open expanse of sky, water, snow, or fog can make a small subject feel powerful, quiet, or wonderfully isolated. It depends on the mood you want. Too much empty space without a purpose can feel unfinished, but intentional space gives the eye a place to rest.
Also watch for competing bright spots. Our eyes race toward brightness, saturated color, and sharp detail. If your main subject is a soft, dark tree but a bright white patch sits in the corner, that corner may steal the show. Sometimes the fix is as simple as shifting your tripod. Other times, a slight crop or a gentle adjustment in editing can bring the visual priority back where it belongs.
Work the Scene Like a Photographer, Not a Tourist
Your first composition is usually just your first observation. Give yourself permission to make several versions. Start wide, then go vertical. Move left and right. Change the focal length. Include the foreground, then remove it. Wait for a cloud, a bird, a ripple, or the light to change.
This is especially valuable on a workshop or photography trip, when the excitement of a new place can make us rush. You do not need to sprint from viewpoint to viewpoint collecting proof that you were there. Slow down and make one scene work. The photograph will feel more personal because you spent time noticing it.
A tripod helps with this process, even when the light is bright enough to handhold. It slows you down just enough to examine the frame, compare options, and make deliberate adjustments. That said, do not let the tripod become a prison. If a better angle requires stepping into ankle-deep water or climbing a few feet up a safe bank, take the camera off the tripod and explore.
The next time a landscape catches your attention, give yourself ten extra minutes before moving on. Look for the subject, study the edges, try a different height, and wait to see what the light does. You may not leave with the scene you expected, but you will leave with a photograph that feels like you were truly there.